Here is the problem with every home organization project I have done: it looks great for about three weeks. Then someone puts the batteries in the rubber band bin and the tape in the scissors bin and within a month the whole thing has collapsed back into chaos. It was not a storage problem. It was a labeling problem. Once I started using the Brother P-Touch PTD220 label maker to mark every bin, shelf, and drawer in the apartment, the systems actually held. Not because I got more disciplined, but because everyone in the house could see where things went.
Labels are the part of home organization that most guides skip over. They spend 800 words on which bins to buy and two sentences on labeling, as if it is obvious. It is not obvious. There is a wrong way to do it that wastes your time and a right way that makes your whole household function better. This guide is the right way, room by room, start to finish.
If your organization keeps falling apart after a few weeks, the missing piece is probably a label maker.
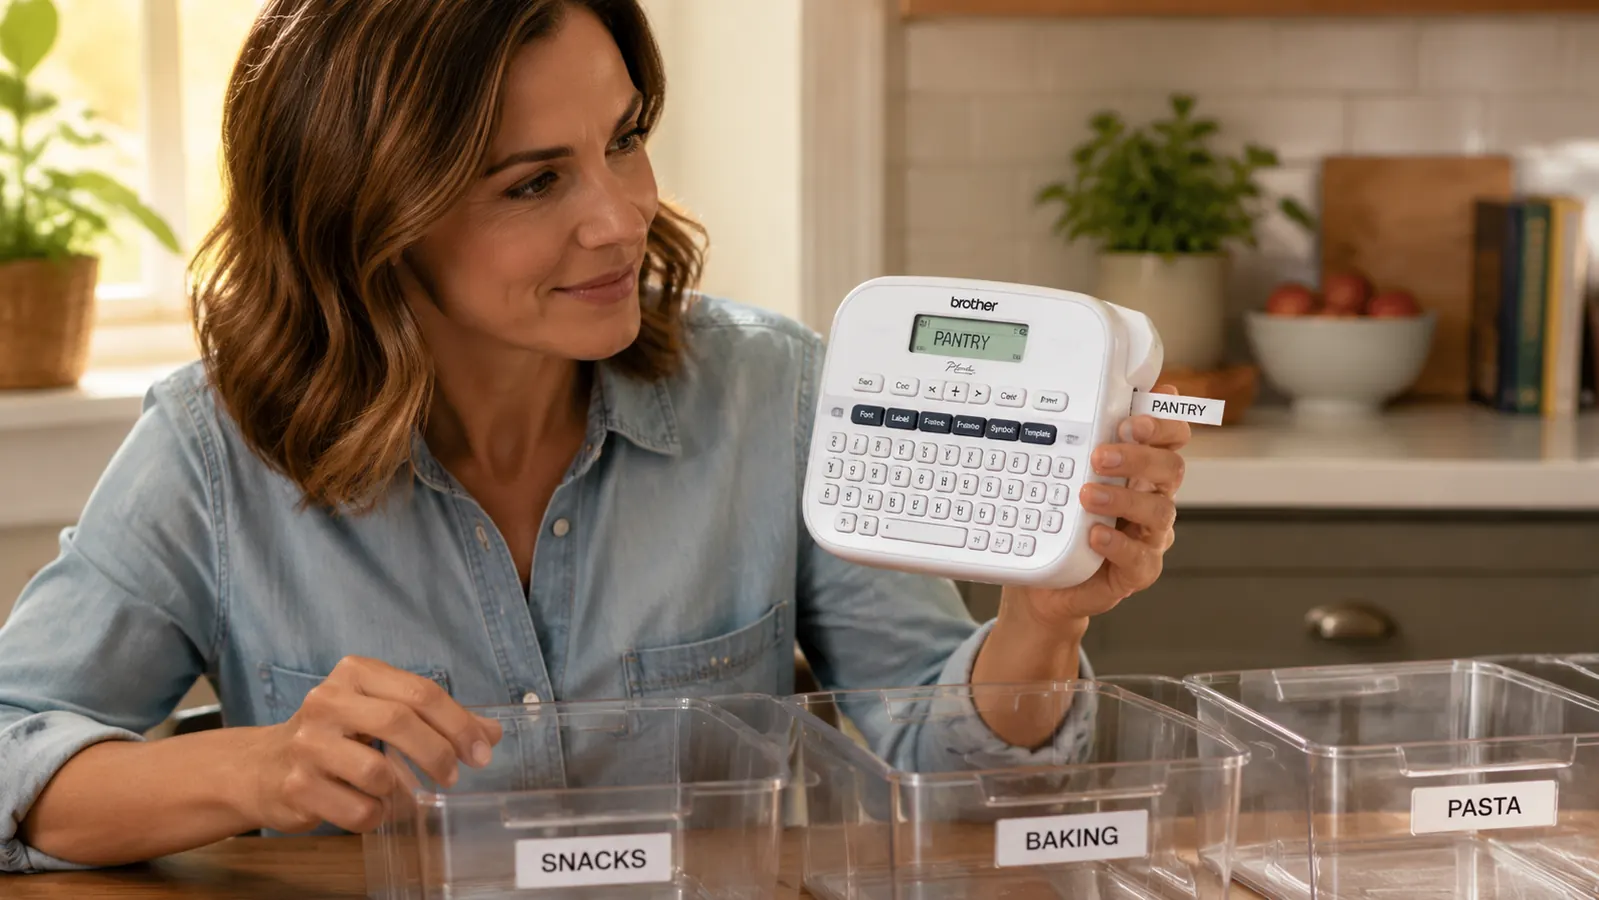
The Brother P-Touch PTD220 prints clean, laminated TZe tape labels that stick to plastic, wood, fabric bins, and shelf edges. Rated 4.6 stars across more than 5,400 reviews. Check today's price before you start this project.
Amazon Check Today's Price on Amazon →Step 1: Audit Before You Print a Single Label
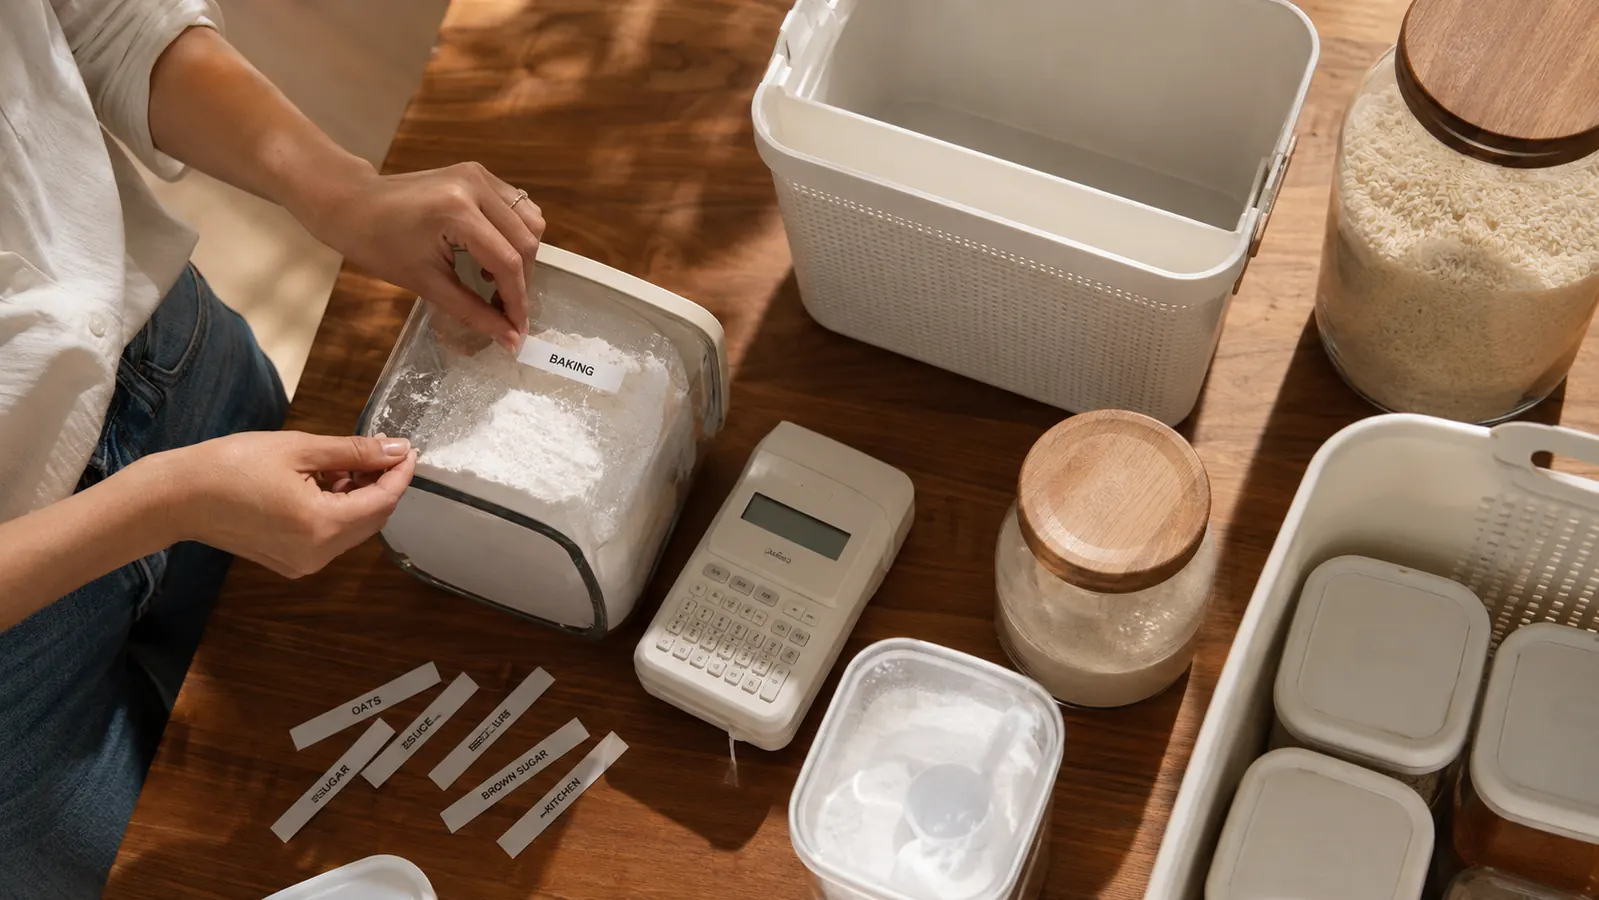
Do not fire up the label maker on day one. Pull everything out of the first zone you want to tackle, whether that is the pantry, the linen closet, or the junk drawer, and put it on a table or the floor. Group things by how you actually use them, not by where they happened to live before. Flour and sugar belong together because you grab them at the same time. AA batteries and the TV remote deserve to be near each other. Ibuprofen and the thermometer are a logical pair.
This step feels slow but it is where you do the real organizational thinking. The labels you print will lock in whatever structure you set up here, so if the categories are wrong you will be peeling and reprinting in two months. Take ten minutes per zone and get the groupings right before you pick up the label maker. Once you have the groupings settled, decide which items get their own bin or shelf slot and which can share space. That determines how many labels you need.
Write your category names on a scrap of paper first. Read them out loud. Would a houseguest understand where to put the scissors back? Would your kid know which bin holds the craft supplies? The test for a good label is whether someone unfamiliar with your system can use it correctly on the first try. If you need to explain a label verbally, rewrite it.
Step 2: Set Up Your Label Maker for Consistent Output
Consistency is what makes a labeled home look intentional instead of patched together. Before you print anything permanent, decide on one font size, one tape width, and one capitalization style, and use them everywhere. For most home use, the Brother PTD220 looks best at 14pt or 18pt font on 12mm TZe tape. All caps reads well on small bins. Title case works better on shelf edge strips where the label is longer. Pick one and commit.
The PTD220 uses TZe laminated tape, which is heat-resistant, moisture-resistant, and genuinely sticks to smooth surfaces for years without peeling at the corners. Use the standard white tape with black text for most applications. If you are labeling inside a dark cabinet or on a black bin, grab the clear tape with black text or the white tape with black text in a larger font size so it reads at a glance. Buy an extra tape cartridge before you start. Running out mid-project is irritating and you will stop and not come back to it.
Print a test label before you commit to 40 labels in one session. Peel it, stick it, stand back. If the font is too small to read from two feet away, bump it up. If the tape width looks chunky against the bin size, go down one width. Five minutes of testing now saves a full reprint later.
Step 3: Label the Kitchen and Pantry First
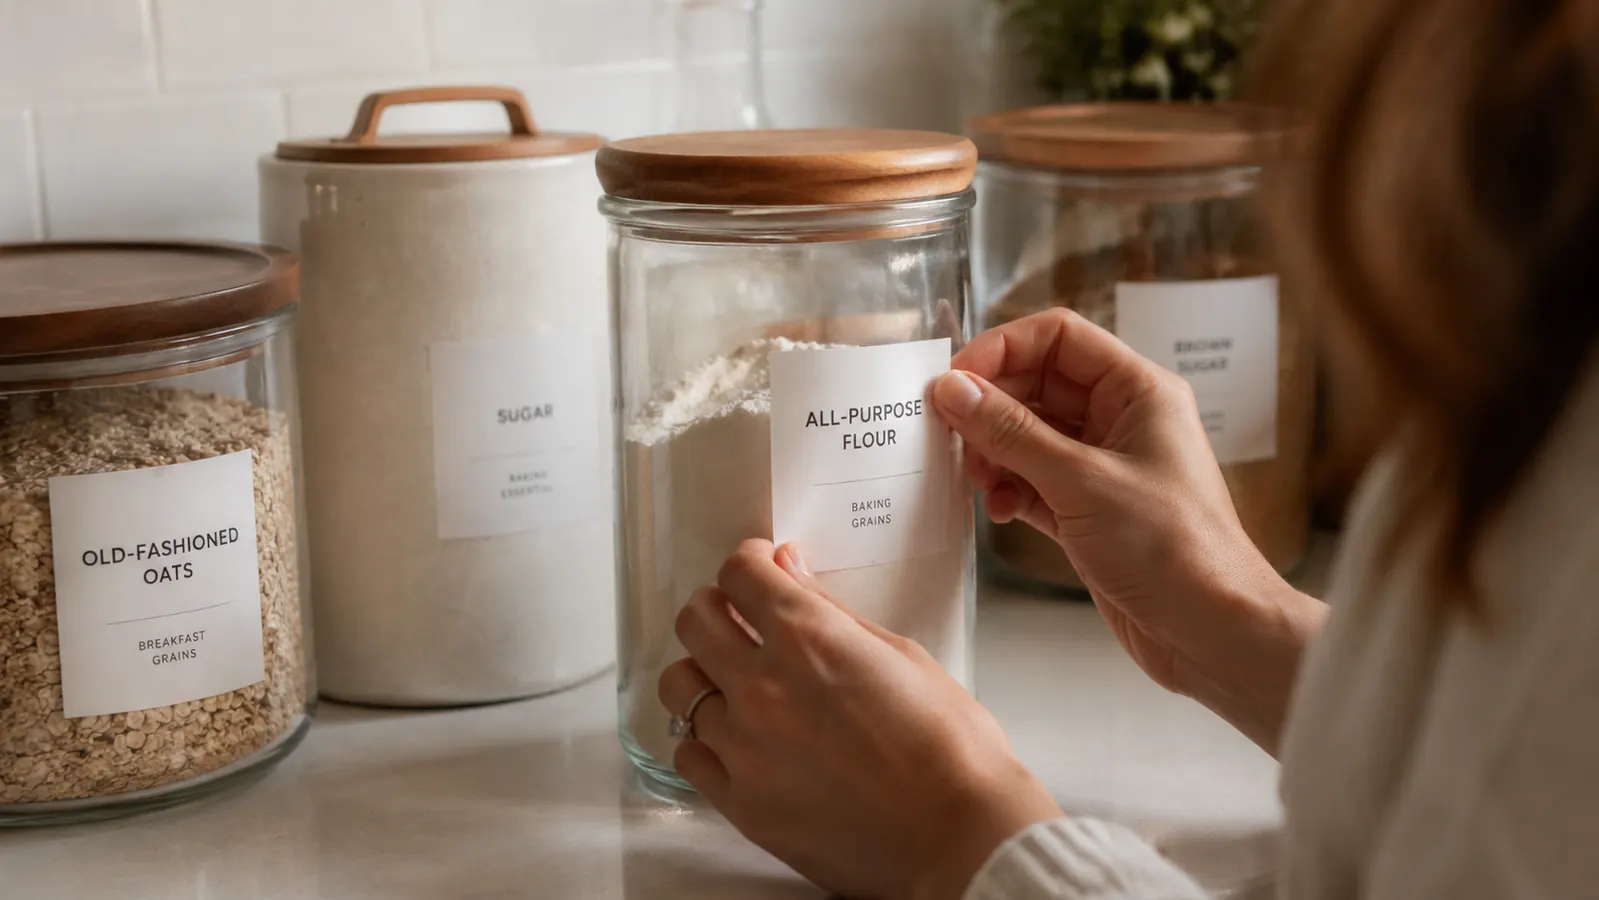
Start here because the kitchen is the highest-traffic organizational zone in most homes and it will give you the most immediate payoff. Pantry labels go on the front face of every bin and basket at eye level. If you have open shelving, add a label strip to the shelf edge itself so the category is visible even when the bin is full and its face label is hard to read. A shelf-edge label reading BAKING on the same shelf where flour, sugar, and baking powder live means nothing gets misplaced when someone is in a hurry.
Spice drawers and spice racks benefit from bottom labels, meaning labels on the lid or bottom of each jar so you can see the name when you are looking straight down into the drawer. The PTD220 handles this well on 9mm or 12mm tape. Label the drawer itself too, not just the jars, so when a jar runs out and gets tossed, the drawer does not become an unnamed mystery.
The junk drawer deserves real attention, not a single MISCELLANEOUS label. Divide it into three to five zones using small containers and label each one. BATTERIES. TAPE AND SCISSORS. PENS AND MARKERS. RUBBER BANDS AND CLIPS. When every item has a labeled home even in the junk drawer, the drawer stays usable. It is the most used drawer in most apartments and the one that collapses fastest without structure.

Step 4: Work Through Closets, Bathrooms, and Bedrooms
Linen closets and bathroom cabinets are where good intentions go to die without labels. Under-sink cabinets especially collect cleaning supplies, first aid items, hair tools, and random hotel shampoos in a heap that never stays organized. Label the shelf edges and any bins you add. CLEANING SUPPLIES on the bottom shelf, FIRST AID on the middle, HAIR TOOLS on the top. The categories do not need to be fancy, they just need to be visible every time someone reaches in there.
For bedroom closets, label fabric bins with their contents. SWEATERS, WORKOUT GEAR, OFF-SEASON TOPS. If you share a closet, add an initial or a color-coded tape to distinguish zones. The PTD220 comes with black-on-white tape but TZe tape comes in a dozen colors, so you can grab a roll of black-on-yellow for one person and black-on-blue for another without buying a new label maker.
Medicine cabinets should have labeled zones too. DAILY MEDS, FIRST AID, STOMACH, COLD AND FLU. This is especially useful if anyone in the household has a regular prescription routine or if you have kids who need to grab something in a hurry. Printed labels are faster and clearer than handwritten masking tape, and the laminated TZe surface wipes clean if a bottle leaks.
Step 5: Lock In the System with Shelf and Zone Labels
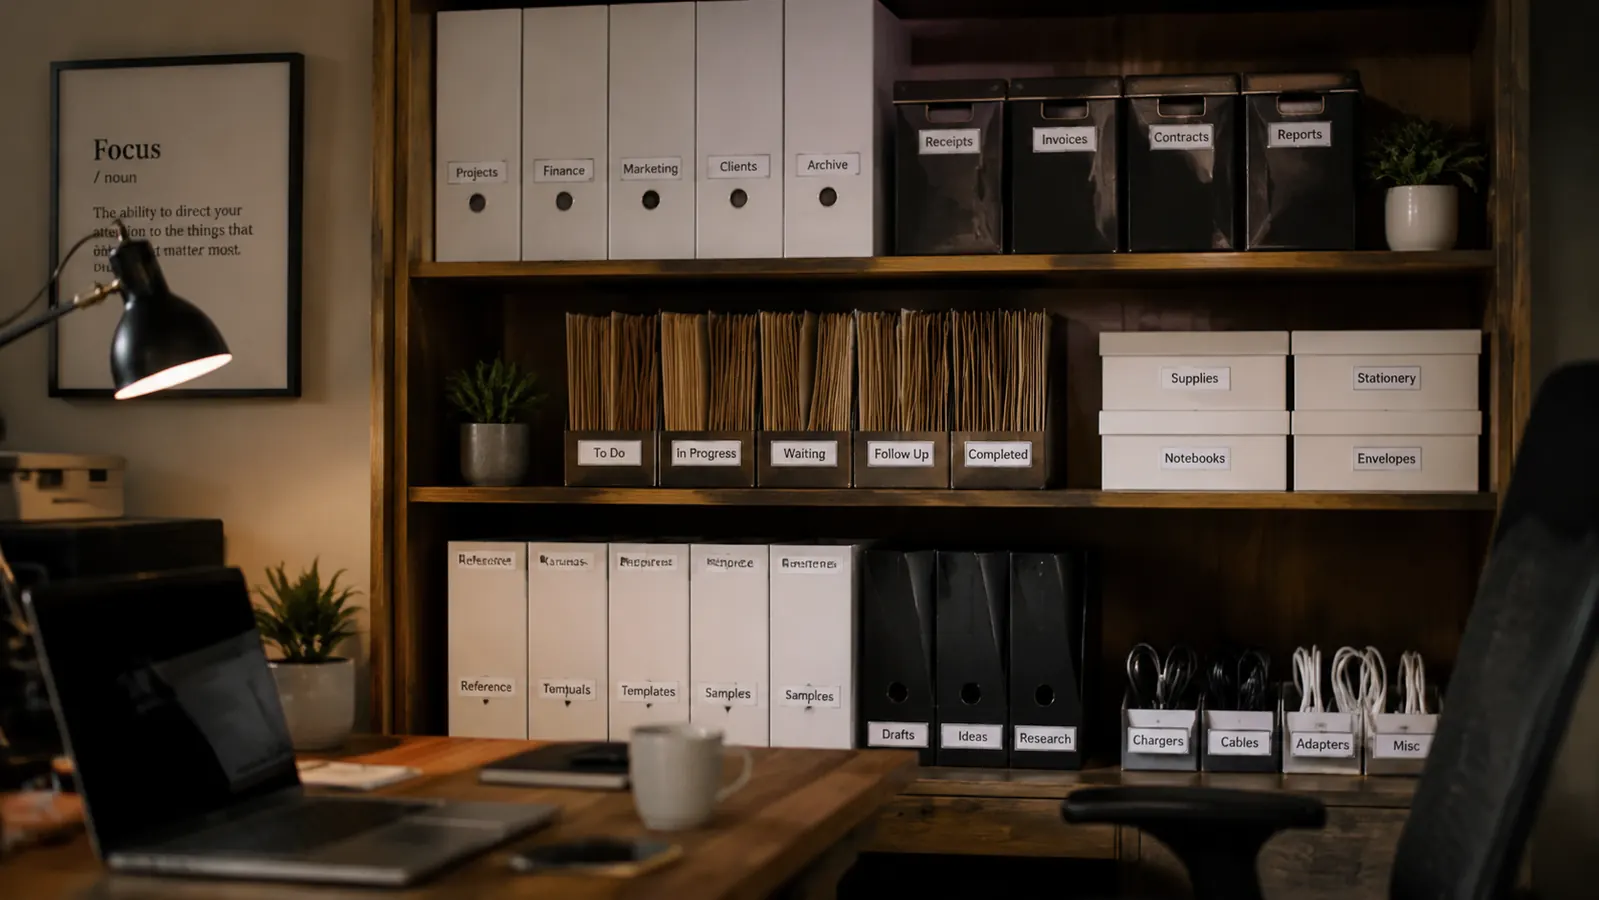
Individual bin labels are necessary, but they are not the whole job. Shelf-level and zone-level labels are what make the system self-maintaining. A shelf edge label that reads OFFICE SUPPLIES on a bookshelf means that anyone who walks in with a stapler or a USB cable knows exactly where it lives. Without that higher-level label, things drift to whatever shelf has open space.
In a garage, basement, or large storage room, label the zones on the wall or on the face of shelving units. TOOLS. HOLIDAY DECOR. SPORTS GEAR. CLEANING SUPPLIES. Zone labels are the map. Individual bin labels are the street addresses. You need both layers for the system to hold when life gets busy and you are just trying to put things away fast.
After labeling every zone, do one walkthrough with someone else in the household. Have them put five random items away without you pointing. If they hesitate anywhere, that is a gap in the label system. Either the zone label is missing, the bin label is unclear, or the category grouping does not match how that person thinks. Fix it now, before the system has to work under real daily use pressure.
What Else Helps
Labels are only as useful as the containers they are on. If your bins do not have flat front surfaces, the labels have nowhere clean to stick. Smooth-front clear plastic bins work best with printed TZe labels because the label lies flat, the adhesive grips the surface firmly, and you can still see what is inside. Fabric bins with a label window slot work well for closets. Avoid labeling soft-sided bins without a rigid insert because the label will peel and curl at the edges within a few months. For shelf edge strips and wall zones, the laminated TZe tape on a smooth painted wall or a shelving unit face holds for years without leaving residue when you need to update a zone.
If you want to go further on the drawer organization side, pairing labels with an expandable drawer tray makes the kitchen and bathroom significantly more functional. A labeled zone in a bare drawer still turns chaotic because items slide around. A tray keeps them in their lanes so the label actually tells you something accurate about what is in that slot. For a full walkthrough on the drawer side of the system, see our guide on how to declutter kitchen drawers with a utensil tray.
I reorganized the same pantry three times before I added labels. Once every bin had a name, the whole household stopped undoing my work. Nobody was being careless. They just did not know where things went.
Plan for labels to get updated. Life changes, your storage needs change, and what you put in bins changes. The PTD220 makes reprinting easy because TZe labels peel clean off most surfaces without leaving adhesive residue. Do not treat your labels as permanent fixtures that can never change. Treat them as living signage that gets refreshed whenever a category shifts. A label system that gets updated stays useful. One that calcifies becomes a source of confusion because the label says one thing and the bin holds another.
The Brother PTD220 is the label maker that makes this whole system work.
Laminated TZe tape, simple one-button controls, and a print quality that looks intentional rather than slapped together. It has a 4.6-star rating from more than 5,400 buyers and it prints on 12mm or 18mm tape for bins, shelf edges, and drawers. For a deeper look at long-term performance, read our full Brother P-Touch PTD220 review. Check the current price before you start your labeling project.
Amazon Check Today's Price on Amazon →