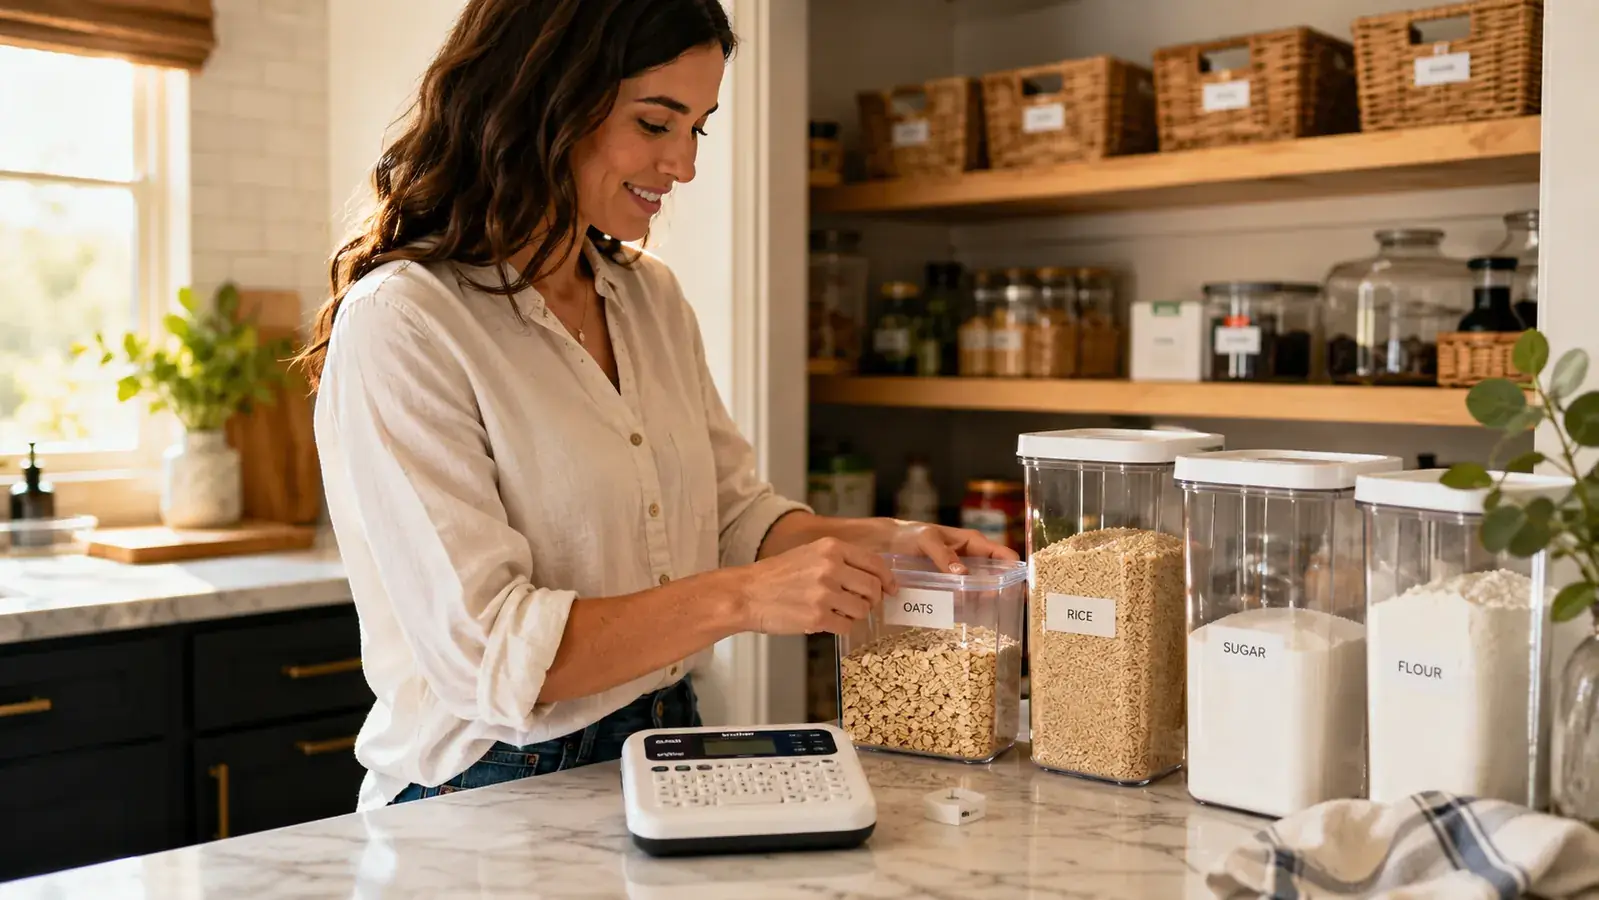
The Brother P-Touch PTD220 is one of the most consistently recommended label makers on Amazon, and the 5,400-plus ratings are not wrong about the core product. It prints clean TZe laminated labels, it runs on USB-C, and it actually works. But most reviews stop there. Nobody tells you that you will burn through a tape cartridge faster than you expect, that the font size decision you make in week one will haunt every label you print in month three, or that about 20 percent of the adhesive side of every cartridge gets eaten by the leader nub before a single usable label comes out. This review covers the stuff that only shows up after you have been using the PTD220 for a while.
I bought the Brother PTD220 specifically because I was tired of handwriting labels with a Sharpie on painter's tape. Sharpie labels are free but they look sloppy and they smear on anything with moisture near it. The PTD220 seemed like a clean upgrade. It mostly is. But there are a handful of gotchas I wish someone had laid out plainly before I ordered two spare cartridges in the wrong width.
The Quick Verdict
A solid standalone label maker with genuinely durable output, but the tape economics and a few mechanical quirks make it a thoughtful purchase rather than a blind buy.
Amazon Check Today's Price →Sharpie labels smear. Painter's tape peels. The PTD220 fixes both.
If you are ready to build a labeling system that actually sticks, the Brother PTD220 is worth the price. Check today's price on Amazon before you order tape cartridges you cannot use.
Amazon Check Today's Price on Amazon →What the Amazon Listing Photos Hide
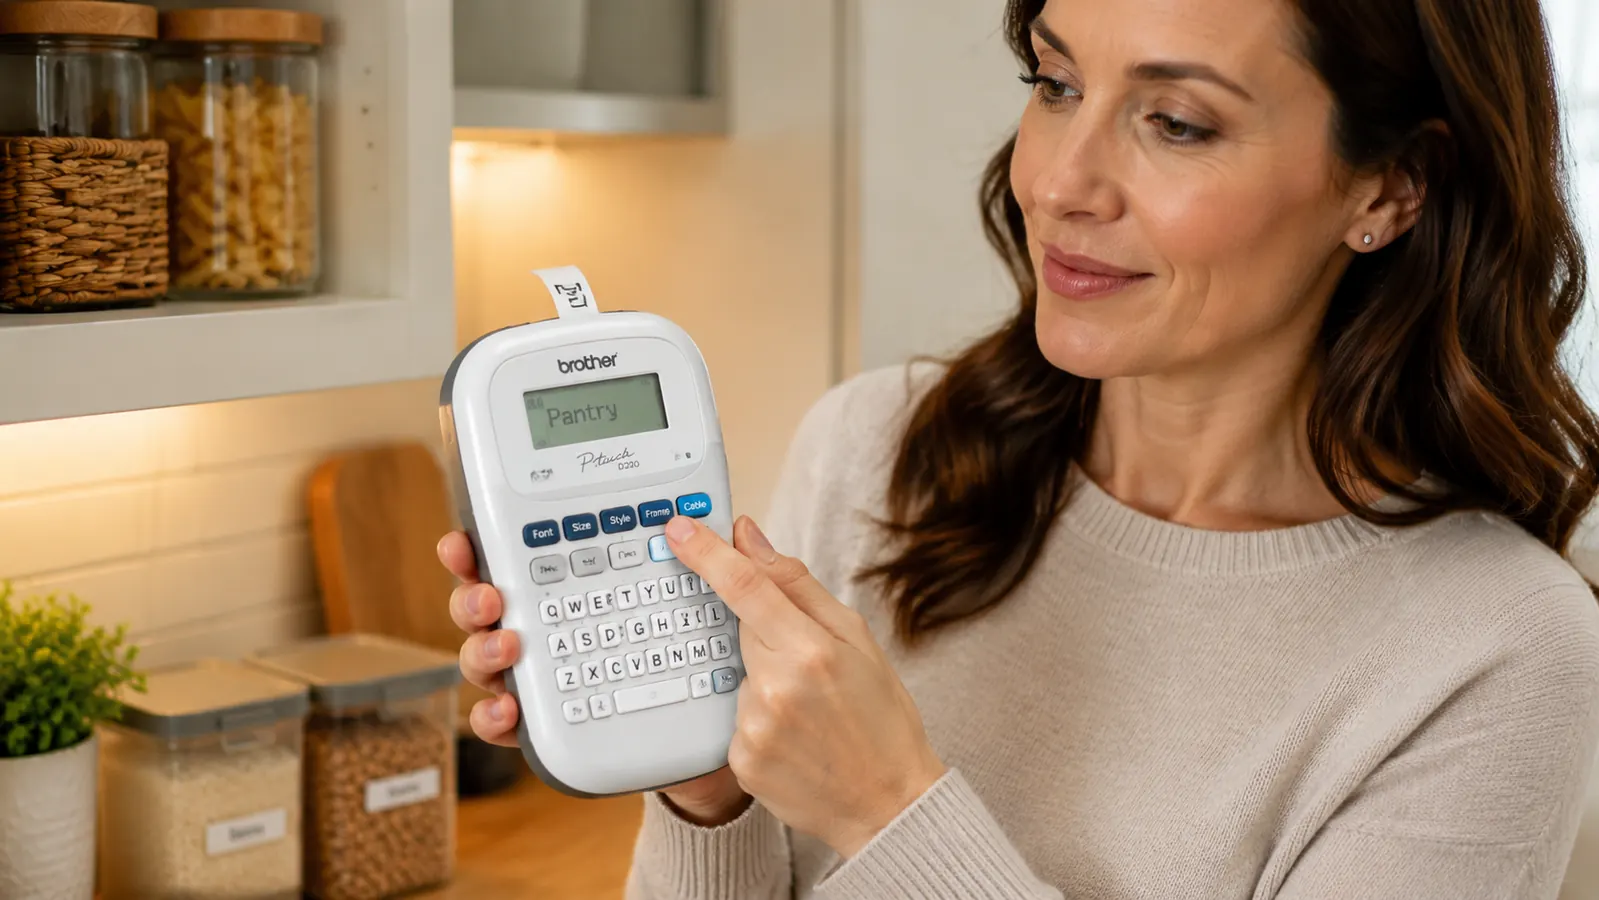
The PTD220 is a small machine. The listing photos make it look like a substantial desktop device. In person it is roughly the size of a thick TV remote control, about 6.5 inches long and just under 3 inches wide. That is not a complaint. Small is fine for a counter-resident tool. The issue is that the photos give you no scale reference, so if you are picturing a sturdy desk appliance with some heft, you will be surprised when a light plastic device shows up. It feels hollow when you pick it up the first time. That first impression wears off once you use it, but it is a jarring gap between expectation and reality.
The other thing the photos hide is the keyboard layout. The PTD220 has a QWERTY keyboard with small, low-profile keys. The keys are not terrible but they are not satisfying either. There is no tactile click. You press, the character appears on screen, you move on. On a desktop computer keyboard, muscle memory carries you. On the PTD220, you look at the keys and type slowly. For a two-word label like WINTER COATS that is fine. For a label like EXTENSION CORDS / CHARGERS where you want two lines of text, navigating the return-key sequence while also managing font size and line spacing on a small non-backlit screen takes more focus than the listings suggest.
The Leader Nub Problem Nobody Talks About
Every time you power on the PTD220 and print a label, the machine feeds a small strip of blank tape before the actual text starts printing. This is a mechanical feature of the way thermal tape printers work: the print head needs a moment to warm up and align before laying down readable text. The result is a short blank leader at the front of every label, typically about 5 to 8 millimeters of empty laminated tape. You trim it with scissors or a fingernail before applying the label.
Five millimeters does not sound like much. But if you are making 40 labels for a full pantry and closet overhaul in one session, you are trimming 40 small nubs. More importantly, that blank tape waste is carved out of a cartridge that contains exactly 8 meters of usable tape. On 12mm tape, an average five-character label including the leader nub runs about 35 millimeters. A full cartridge holds roughly 225 usable millimeters worth of labels assuming continuous printing, or about 23 decent-length labels per meter before waste. That math gets uglier fast when you factor in the leader nub from each power cycle and from each test label you print to check font size. An 8-meter cartridge, at moderate waste, gets you closer to 60 to 70 finished home organization labels rather than the theoretical maximum.
The fix is simple once you know it: type all your labels in sequence without powering the machine off between prints. The leader nub only appears on the first label after a power cycle. Print ten labels in a row without shutting down and you burn exactly one leader nub for the whole batch, not ten. Nobody tells you this. It is the single most useful technique for reducing tape waste, and it is not in the manual.
Tape Cartridge Economics: The Full-House Math
If you are labeling one junk drawer, tape cost is not a real concern. One cartridge handles it and you have half the roll left over. If you decide to label your whole home, the math shifts. Let me walk through a realistic full-apartment labeling project: 6 pantry bins, 8 bathroom dividers, 4 linen closet shelves, 6 bedroom storage cubes, 2 medicine cabinet sections, 4 under-sink trays, and a handful of utility labels for things like the breaker panel and the hot water heater shutoff. That is roughly 35 to 45 labels, mostly on 12mm tape. At 60 to 70 labels per cartridge with batch printing, one cartridge barely covers it.
Once the system is set up, ongoing tape use is low. You print new labels when you reorganize, when a bin moves, or when a label gets damaged. That might be 5 to 10 new labels a month. At that pace a single cartridge lasts two to three months. The annual tape spend for a home user running 12mm TZe-231 is roughly two to four cartridges per year. At current Amazon prices that is $24 to $60 per year in tape. Not a dealbreaker, but worth knowing before you start treating the PTD220 as a free-to-run appliance.
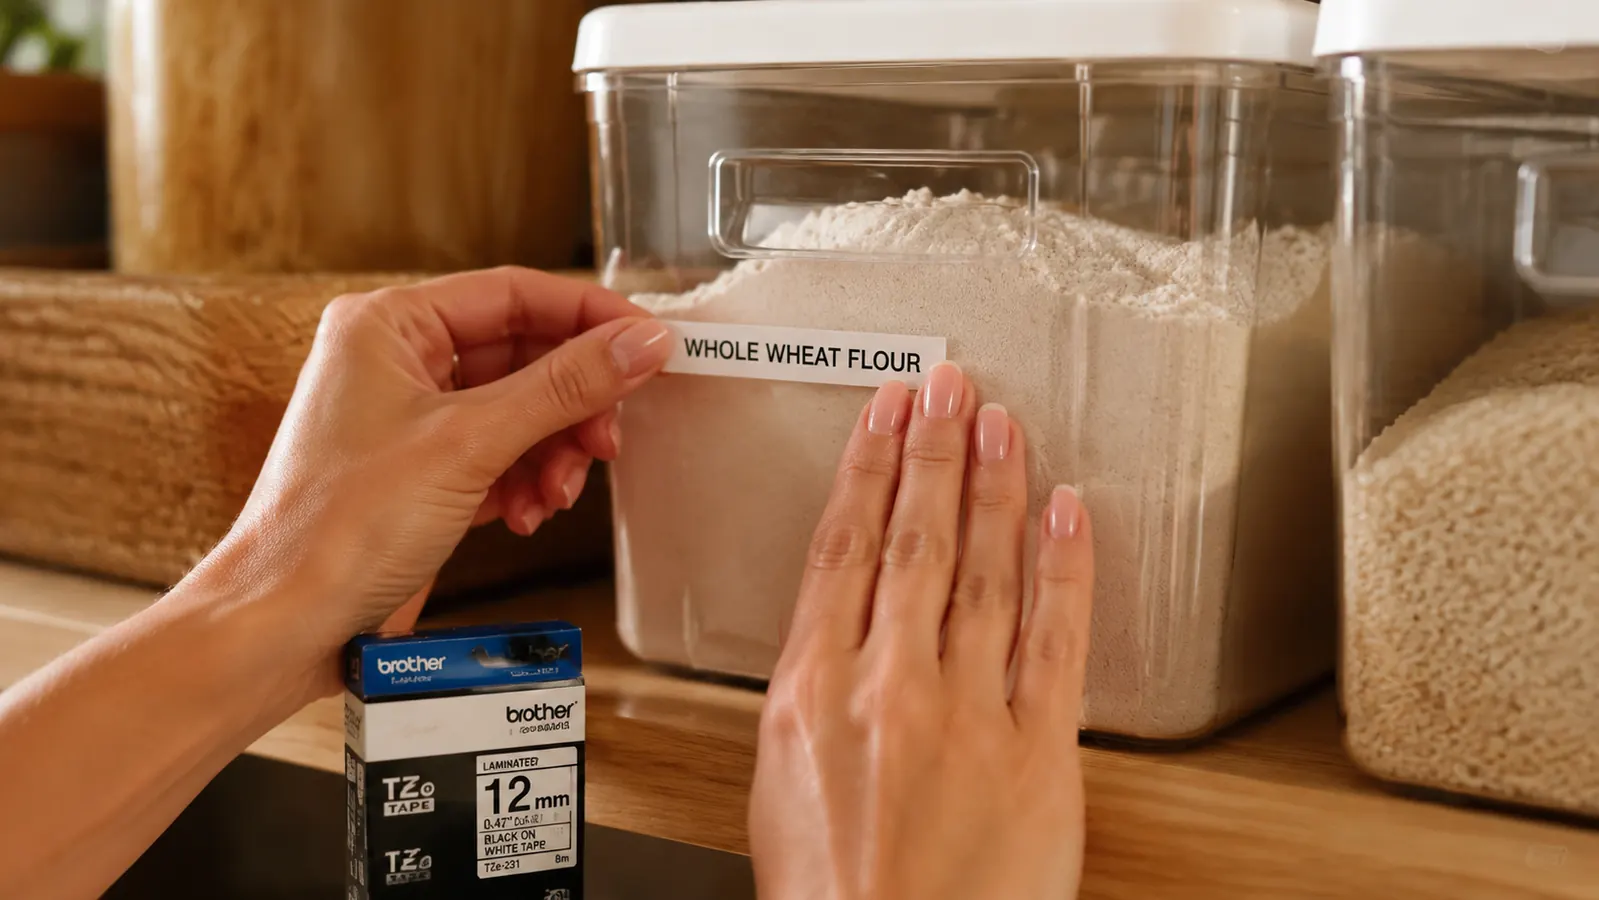
The third-party cartridge market helps here. Compatible TZe tape from brands like COLORMAS or LAMSO runs about $6 to $8 per cartridge versus $12 to $15 for genuine Brother stock. I have used third-party 12mm tape for about four months and the labels have held up on plastic, glass, and powder-coated metal surfaces without peeling or fading. The print quality is indistinguishable from genuine tape in side-by-side comparisons I ran on bathroom drawer labels. If you are going to run this machine long-term, buying genuine for your initial labeling batch and then switching to compatible cartridges for maintenance printing is a reasonable middle path.
Nobody tells you to batch your labels and never power cycle mid-session. Do that and you cut tape waste by more than half.
The Font Size Decision You Will Regret If You Get It Wrong
The PTD220 offers 14 font size options. That sounds like plenty of flexibility, and it is, but it creates a trap for first-time users: you pick a font size that looks right on the screen preview and then apply it to 30 labels before realizing it reads slightly too small from standing height. Now you either live with inconsistent labels or you reprint the whole batch.
Before running a full labeling session, print three test labels: one at your intended size, one size up, and one size down. Apply them to the actual surface you are labeling. Step back to the distance from which you naturally view that surface. A pantry bin you scan from the door is different from a drawer divider you read while crouching. A medicine cabinet shelf you read at arm's length is different from a linen closet shelf you check from the doorway. This test costs maybe 10 centimeters of tape. Skipping it can cost you a full reprinting session.
The second font trap is capitalization. The PTD220 defaults to all-caps and most home organizers use all-caps because it reads cleanly at small sizes and short viewing distances. But if you decide mid-project that you want title case instead (SNACKS vs Snacks), switching styles halfway through leaves you with a mixed-look system that will nag at you every time you open a cabinet. Decide on a capitalization convention before your first label and stick to it. All-caps is the safer default for most home labeling contexts.
What Happens When You Change Your Mind
Labels peel off most surfaces without much drama. On glass bins and metal shelving they come off cleanly. On certain matte-finish plastics and some painted walls, the adhesive leaves a ghost residue that needs a bit of rubbing alcohol to clear. On textured surfaces like the fabric-covered bins that come with some shelving units, the TZe adhesive grabs aggressively and the label does not peel off as a clean sheet. It tears, leaves adhesive behind, and occasionally takes a thin layer of surface texture with it.
The practical lesson is this: before you go labeling every surface in your home, test the adhesion and removal on a spare section of each material type. Smooth plastic, good. Glass, good. Raw wood, risky. Fabric-covered bins, you may not get a clean removal. For surfaces where you want the flexibility to re-label, clear tape on the surface first as an adhesion base layer, then the label on top of the clear tape, gives you a clean removal path without touching the underlying surface. It adds one step but saves you grief if you re-organize six months later.

The Specific Scenarios Where the PTD220 Quietly Fails
Long text strings are awkward. The screen is 16 characters wide in single-line display. If your label needs to say EXTENSION CORDS AND POWER STRIPS, the preview scrolls and wrapping the text to two lines requires navigating the return-key sequence in the formatting menu. It works but it is slow. If most of your labels are short (under 15 characters), this is irrelevant. If you are labeling a detailed file system or a home office with specific multi-word categories, the friction adds up.
Labels on curved surfaces do not lie flat. The PTD220 prints on flat tape and that tape does not conform to curved surfaces like round bottles, rolled cord storage, or cylindrical containers. The ends lift. If you need labels on curved surfaces regularly, a label designed for that purpose (flag-style, or wrapped with overlap) is a workaround, but the machine does not make that easy. Flat bins, flat shelves, flat drawer faces: great. Round jars: bring tape flags and patience.
Cold storage labels are a different story from room-temperature labels. I tested TZe-231 adhesion on the outside of a plastic container that goes in and out of the freezer. After three weeks of freeze-thaw cycling, one corner had lifted on two of three freezer labels. The TZe tape is not rated specifically for freezer applications. If you are labeling frozen food containers or a chest freezer, check for Brother's freezer-rated tape variants (TZe-S or cryogenic tape) before assuming standard TZe-231 will hold.
What I Liked
- TZe laminated tape holds up genuinely well on room-temperature smooth surfaces: plastic, glass, painted wood, metal
- USB-C power keeps the machine usable without burning through AAs
- Batch printing without power cycling nearly eliminates leader nub waste
- Third-party compatible cartridges cut ongoing tape cost in half without visible quality loss
- Small footprint sits on a counter without dominating the space
- Live screen preview catches font-size mistakes before you commit tape
Where It Falls Short
- Leader nub waste is significant if you power cycle between each label instead of batching
- Full-house labeling chews through a cartridge faster than listings imply: realistic yield is 60 to 70 labels per roll with reasonable waste
- Adhesive leaves residue on matte plastics and fabric-covered bins on removal
- Standard TZe-231 tape does not hold reliably through freeze-thaw cycling
- Long multi-word labels on a 16-character screen require slow formatting navigation
- No tactile key click makes extended typing sessions less confident
How to Get the Most Out of It From Day One
Plan your full label list before you print a single one. Open a notes app, write every label you plan to make for each room, and decide on your font size and capitalization standard. Once you have the full list, sit down with the PTD220 and run through the entire list in one session without powering off the machine between labels. You will use one leader nub instead of thirty. You will burn through significantly less tape. The whole-home labeling session that might eat a full cartridge with careless use will come in well under half a roll if you batch it properly.
The article on how to label every bin, shelf, and drawer in your home walks through the room-by-room process with recommended label sizes for each context if you want a ready-made labeling plan you can adapt without building one from scratch.
Who This Is For
The Brother PTD220 is the right label maker for someone who wants a physical, standalone machine that works without a phone and without a subscription. If you have a clear home organization project in mind, a plan for which surfaces you are labeling, and a willingness to learn the batch-print workflow, this machine delivers clean durable results at a reasonable total cost. It is especially well-suited to pantry systems, bathroom drawer organization, and storage closets where labels go on flat plastic, glass, or painted surfaces at room temperature.
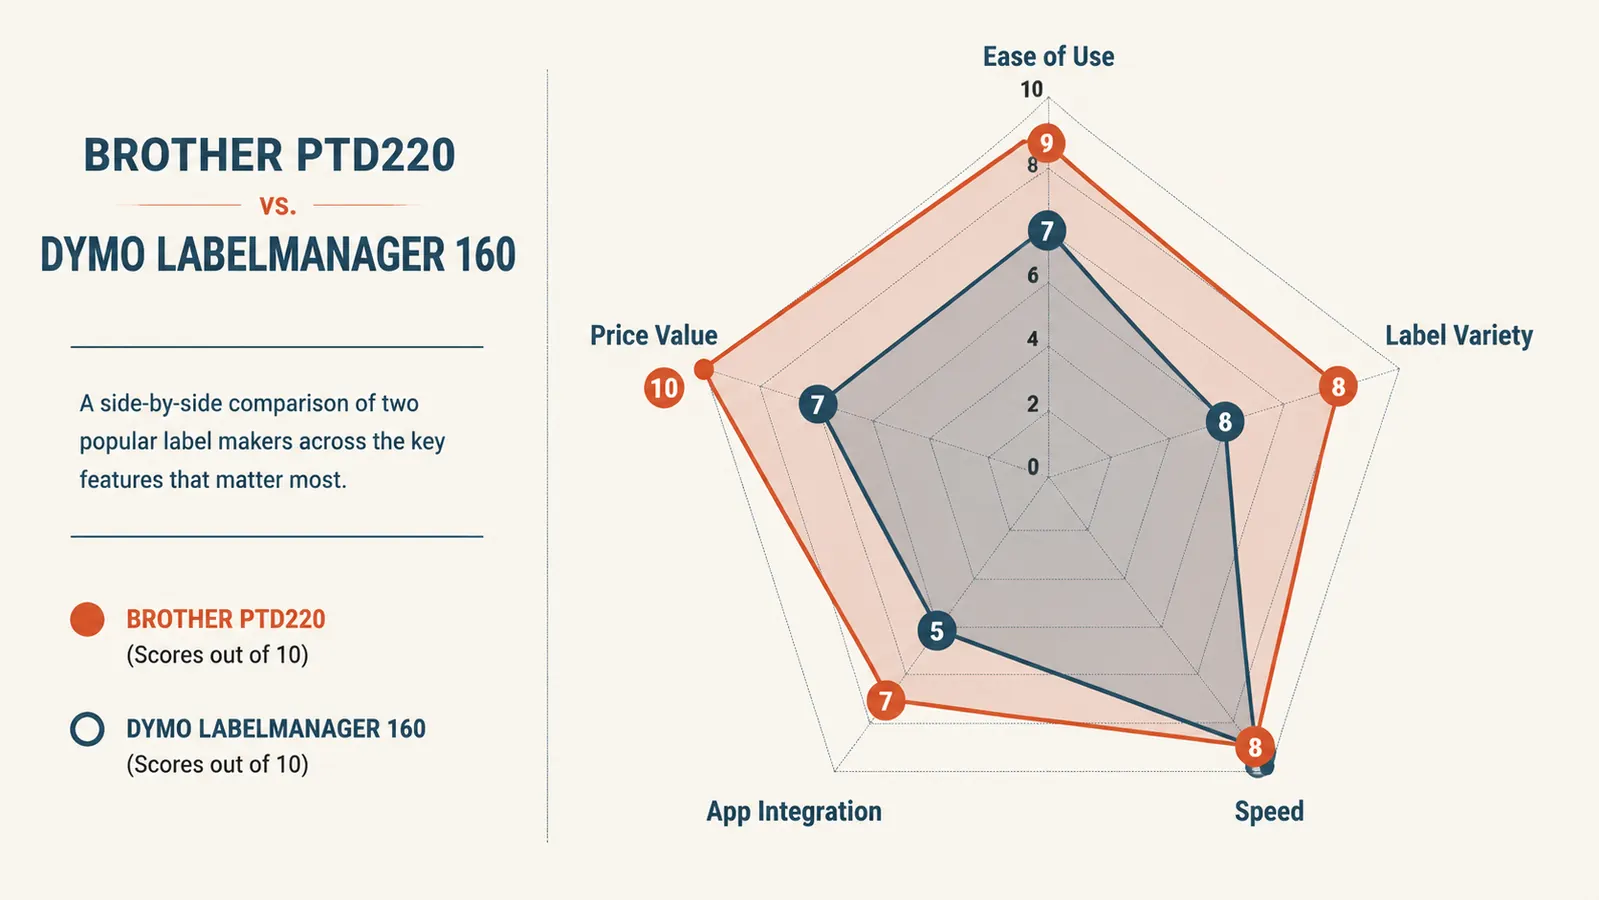
The PTD220 is also one of the few label makers in this price range with a properly broad tape width range. Going from a 6mm narrow drawer-divider label up to an 18mm wide shelf sign within one system is something most competitors in this price tier cannot match. For a full-house labeling project covering multiple surface types and viewing distances, that flexibility matters. The Brother PTD220 vs DYMO LabelManager comparison breaks down exactly where that tape width flexibility makes a real difference if you want to see the tradeoffs in detail.
Who Should Skip It
If your storage includes a lot of curved containers, fabric-covered bins, or freezer items, the PTD220 is going to frustrate you more than a handwritten-label setup would. It is not the right tool for every surface in a home. If you want the label design experience from a phone app with a bigger character display and wireless sync, something like the DYMO LabelWriter or Brother's own PT-P710BT handles that workflow. And if you are a one-time user who wants to label one shelf and then store the machine indefinitely, the PTD220 is genuinely overkill. A pack of label-making stickers or a preprinted bin-label set costs $6 and does not require learning a keyboard layout or budgeting for cartridge refills.
If you go in knowing the quirks, the PTD220 earns every cent.
The tape economics, the batch-print trick, and the surface-type limits are the whole story. If your project fits within those parameters, it is a genuinely good machine. Check the current price on Amazon and see whether it is in stock before you plan your labeling session.
Amazon Check Today's Price on Amazon →